How to Fit a Shower Room into a Loft Conversion: Layouts for Tight Roof Spaces

A shower room is often what turns a loft conversion from a decent spare bedroom into a proper main suite. It is also the part of the job that causes the most head-scratching. You are working under a slope, the eaves drop to a metre or less, and the toilet has to reach a soil pipe somewhere below your feet. None of that makes it impossible. It just means planning in the right order: drainage first, headroom second, tiles last.
Work out the soil pipe route first
Before you think about trays or tiles, find out where the waste can go. This single question decides where the shower room sits and, occasionally, whether it can be built at all. There are three realistic routes:
- Into the existing soil stack. Usually the cheapest and quietest option. The branch needs a continuous fall, typically somewhere around 18–25mm per metre for a 110mm pipe, so the loft floor needs enough height above the connection point. Boxing in a section of pipe in the room below is common and rarely noticed.
- A new external stack. Workable if there is an outside wall within reach, but it needs Building Regulations approval and sometimes planning permission. Match the material and colour to the existing drainage.
- A macerator or pumping unit. A last resort for many lofts, but occasionally the only option. These units are noisy, need a power supply and a dedicated small-bore discharge pipe. They cope better with a toilet and basin than with the volume of water a shower produces, so the shower often still needs its own pumped or gravity waste.
If only the shower and basin are going upstairs and the toilet stays below, life gets much easier. A 40mm waste with a sensible fall can connect to a stack through a strap boss, or discharge over a hopper head. Whichever route you take, get a plumber and your local Building Control team involved early. A rough drainage sketch on the back of an envelope is fine at this stage. Discovering the problem after the plasterboard is up is not.
Find the headroom before you plan the layout
Stand in the loft with a tape measure and a roll of masking tape. Mark where 1.9m of headroom falls across the floor, then work out which fixtures can live where.
- Shower: aim for roughly 1.9m of clear standing height across the whole tray, allowing for the tray or former thickness. This is the one element that cannot be squeezed.
- Basin: about a metre above the front edge is comfortable, and a basin is perfectly happy tucked under a lower slope.
- WC: a seated user needs headroom and elbow room, but not full standing height. The eaves are often the obvious home for it.
- Door: a door swinging inwards steals the floor space you have just paid to create. Consider a sliding or outward-opening door.
Leave the tape on the floor for a week. Walking around your own marked-out layout tells you more than any showroom visit.
If there is a dormer, that is usually where the shower goes. A dormer gives you a vertical wall and full headroom over a generous footprint, which is exactly what a shower wants. Everything else then lines up along the low side of the room.
Four layouts that work under a slope
- Dormer shower, ridge run. Shower in the dormer, then basin, WC and towel storage in a straight line under the ridge. Straightforward to plumb because everything shares one wall.
- Two-bay arrangement. If the loft is wide, split it. Basin and WC in one bay under the eaves, shower in the other at the gable end or dormer, with a half-height stud wall between them for privacy.
- Corner wet room. A low-profile former and a fixed or folding screen in the corner where the dormer meets the slope. No step, no door swing, and the floor feels bigger. Tanking is essential.
- Chimney-breast niche. A chimney passing through the loft often leaves a ready-made recess. It can make a neat home for a basin or a tall storage unit, freeing wall space for the shower.
Ventilation: one roof window will not be enough
A trickle of air through a roof window does very little for a hot shower. You need mechanical extract, sized for the room and ducted properly.
The duct run matters more than the fan. Corrugated flexible hose draped over rafters kills airflow and traps condensation. Use rigid or semi-rigid ducting, keep the run as short and straight as you can, and insulate it where it crosses a cold roof space so moist air does not condense inside the pipe. Discharge to a gable wall or a dedicated roof tile vent, never into the loft void itself.
An inline fan mounted in the loft, with the grille in the bathroom ceiling and a humidity sensor or overrun timer, is usually quieter than a surface-mounted unit and easier to service. Position the grille away from the shower so you are not standing in a cold draught, but high enough to catch the steam.
Fixtures and finishes that suit low, sloping rooms
Choose a low-profile tray or a wet room former; every centimetre of step you remove is a centimetre of headroom gained. Bi-fold or pivot shower doors need far less swing space than a hinged door. A vanity around 400–500mm deep is plenty for a basin, and a back-to-wall WC often fits better than a wall-hung one, because a concealed cistern frame needs a good 200mm of depth behind it.
Keep the sloping ceiling light in colour. Dark tones on a low wall pull the ceiling down visually, which is the last thing you want. Large-format tiles or wall panels reduce grout lines and make cleaning quicker. Finally, check your water pressure before you buy anything. Gravity-fed loft showers frequently disappoint, and a pump or a combi boiler may be part of the budget.
Structure, sound and the unglamorous bits
Wrap the soil pipe in acoustic insulation and box it in, or you will hear every flush from the bedroom. If you are adding a stone tray, a screed or a wet room former, ask a structural engineer to check the joists; loft floors are often shallower than those below. Keep ducts and recessed lights out of the insulated roof slope, and make sure the room meets the fire and sound separation requirements your Building Control officer sets out. None of this shows in the finished room, and all of it matters.
Before you order anything: a five-point check
- Confirm the soil pipe route with a plumber, and have the water pressure measured at the same time.
- Mark the headroom line on the floor with tape and leave it there while you design.
- Draw the extract duct run on paper before the ceiling goes up. It is the detail most often forgotten.
- Price the boring items: tanking, acoustic insulation, any floor strengthening, a pump. They add up quickly.
- Talk to Building Control early. Changing a drawing is far easier than changing a finished room.
Get those five things right and
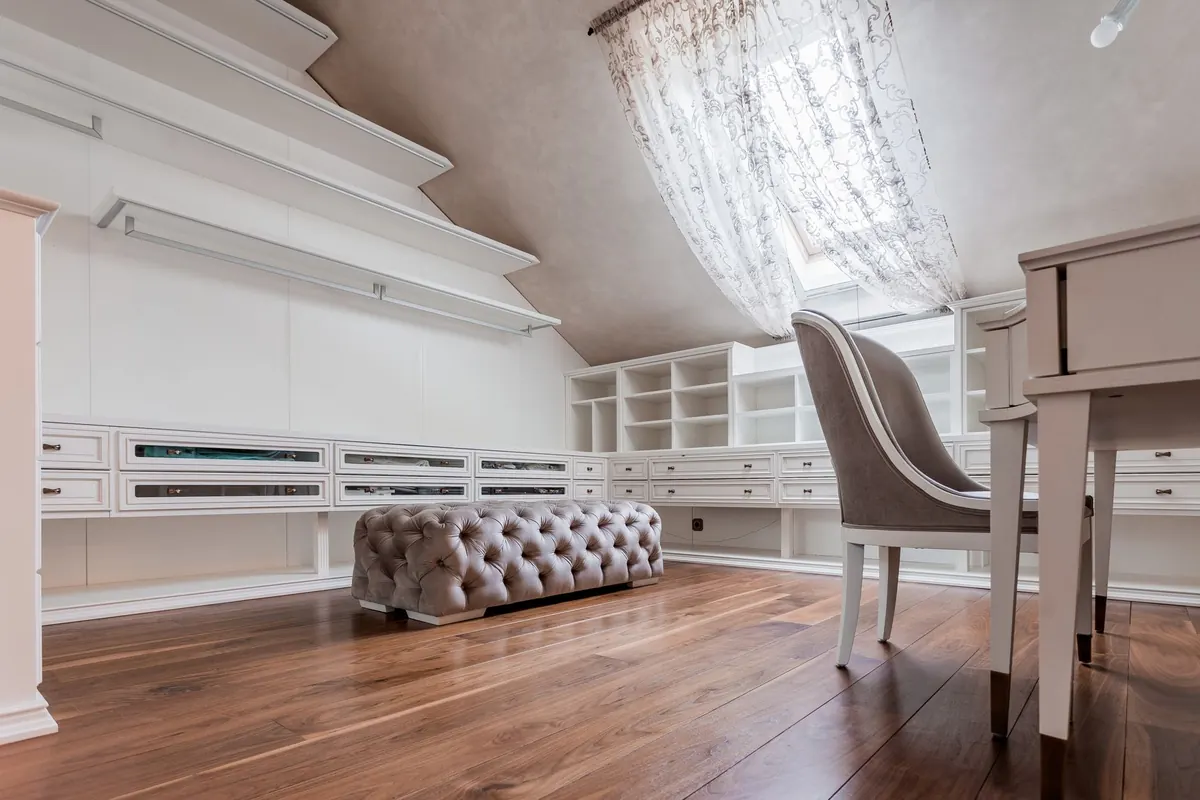
Photo: mowbraycourthotel / Pixabay